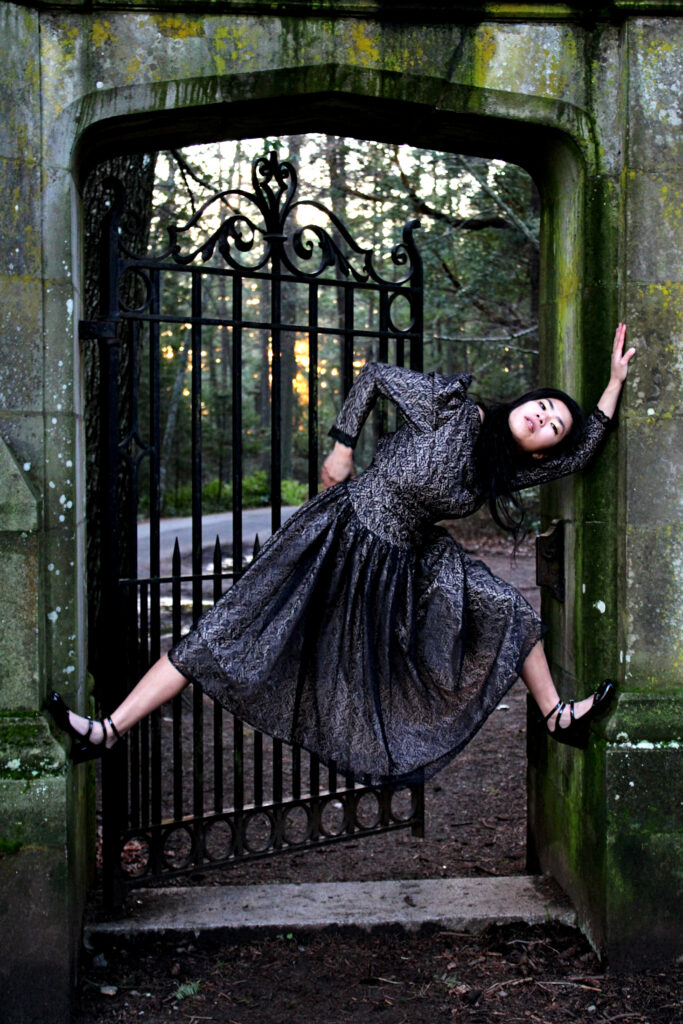
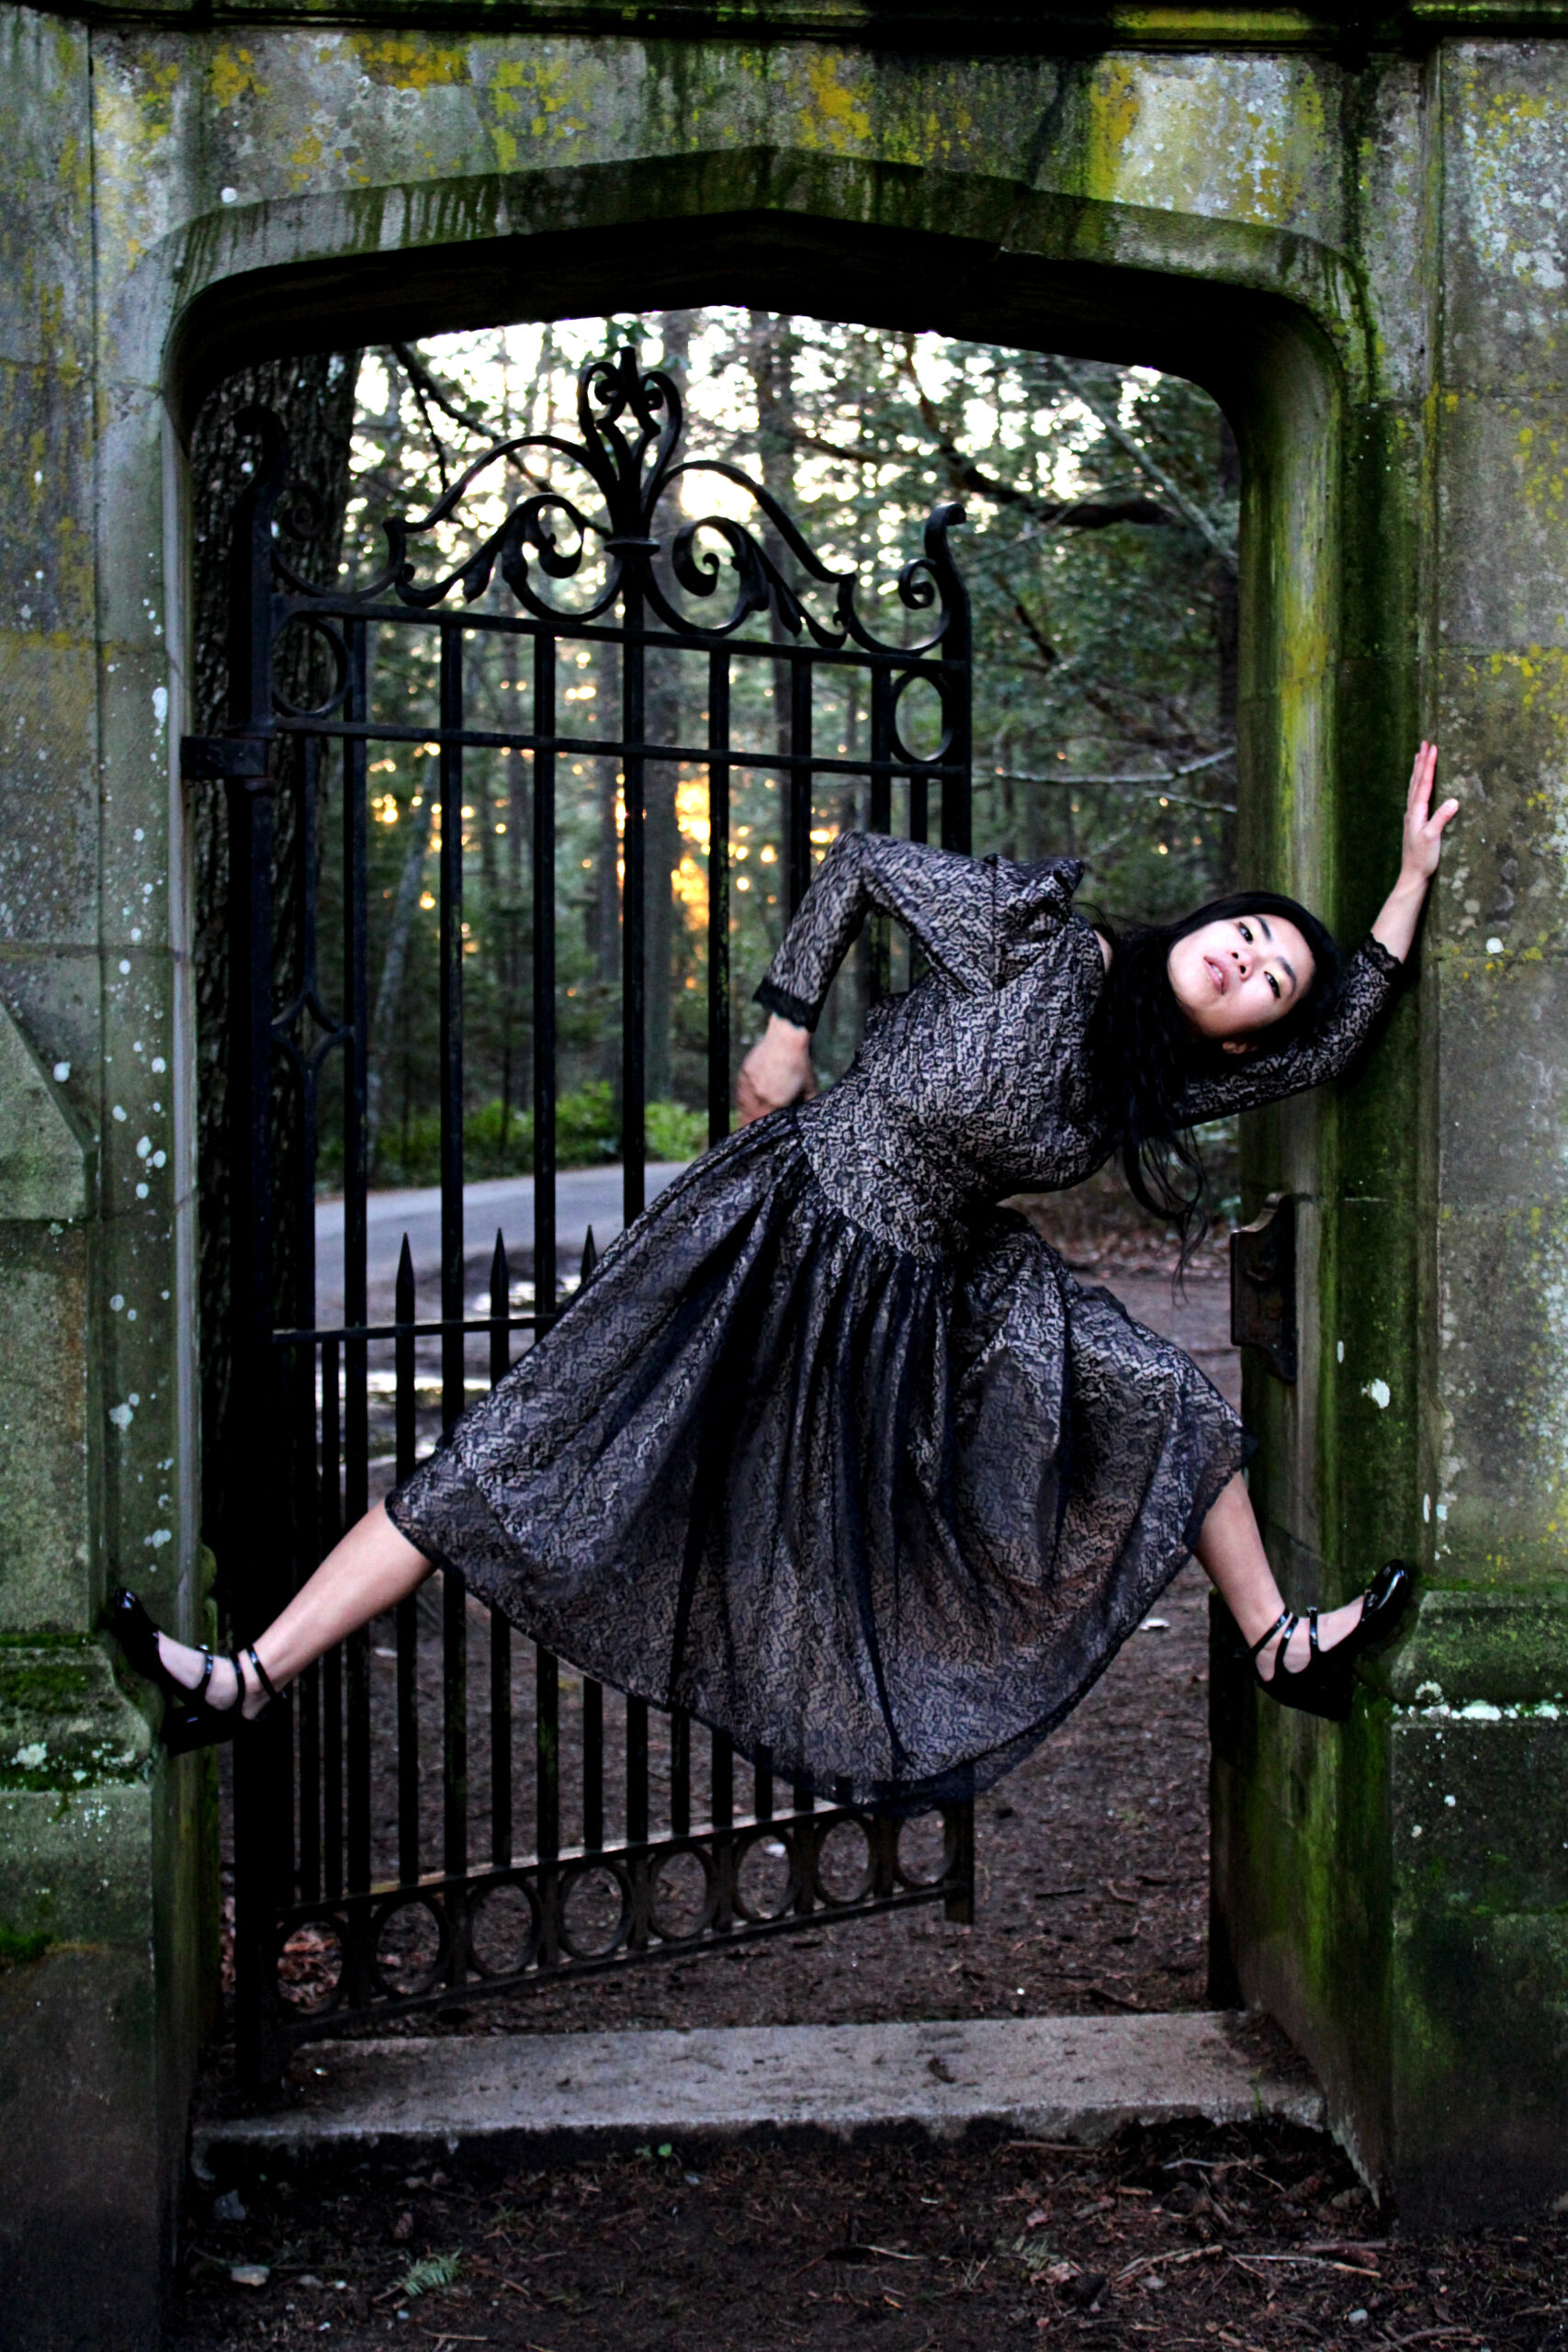
Immediately after upgrading my DSLR camera, I was contacted by some photographer and model friends of mine for a spontaneous outdoor photoshoot get-together – the timing was serendipitous! We picked the perfect location at Royal Roads, and my friend V packed some fun vintage dresses to shoot with. Having some talented photographers there with me for my first time was a blessing – they offered tips on camera settings that I would not have otherwise thought of.

For my first time, I was finding myself fairly happy with how the images turned out. The above image is one of my favorites. After sifting through them all and picking out my favorites, my next step was to try out some simple editing techniques using GIMP!
GIMP: enhancing colors
For my first go at this, I wanted to keep the photo editing simple. I decided to follow a tutorial on youtube for enhancing colors using GIMP. The following steps were executed:
- Create 2 duplicate layers of your image, and make sure you keep the third (top) layer selected for editing.
- Select “Colours” from the options menu, and scroll down to “desaturate” to desaturate your image based on luminosity.
- Select “Colours” again from the options menu, and scroll down to “invert.” This will make the dark areas appear light, and the light areas appear dark.
- Select “Filters” from the menu, then “blur,” and finally “gaussian blur.”
- Locate the “opacity” bar for your layer, and reduce it to approximately 35.
- Right click on your layer, and select “merge down;” this will combine your edited layer with the un-edited layer below it.
- On your newly created, merged layer, click “mode” and change the mode to “grain merge.”
- Optional: lower the opacity of this layer to reduce its vibrancy. Sometimes a more subtle enhancement is better!
Without having GIMP open, these steps likely do not make much sense. However, if you are interested in trying, I recommend watching the video. As you can see, the desired results can be achieved in 7-8 steps! I found the act of writing out the steps to be useful for myself, too – I’m at the point now where I feel confident in following these steps from memory alone. Hooray!
What I would like to improve next time..
Next time, I would like to focus on making the model’s face sharper, so that it is the most in-focus part of the image. To be specific, the most focus should be placed on the model’s eyes. When you look at the image, you can see that Viv’s face is not as sharp as it could be. It is possible to do some targeted sharpening on GIMP, as well, so I may take a swing at that. However, my goal is to have the images be sharp without using editing.


