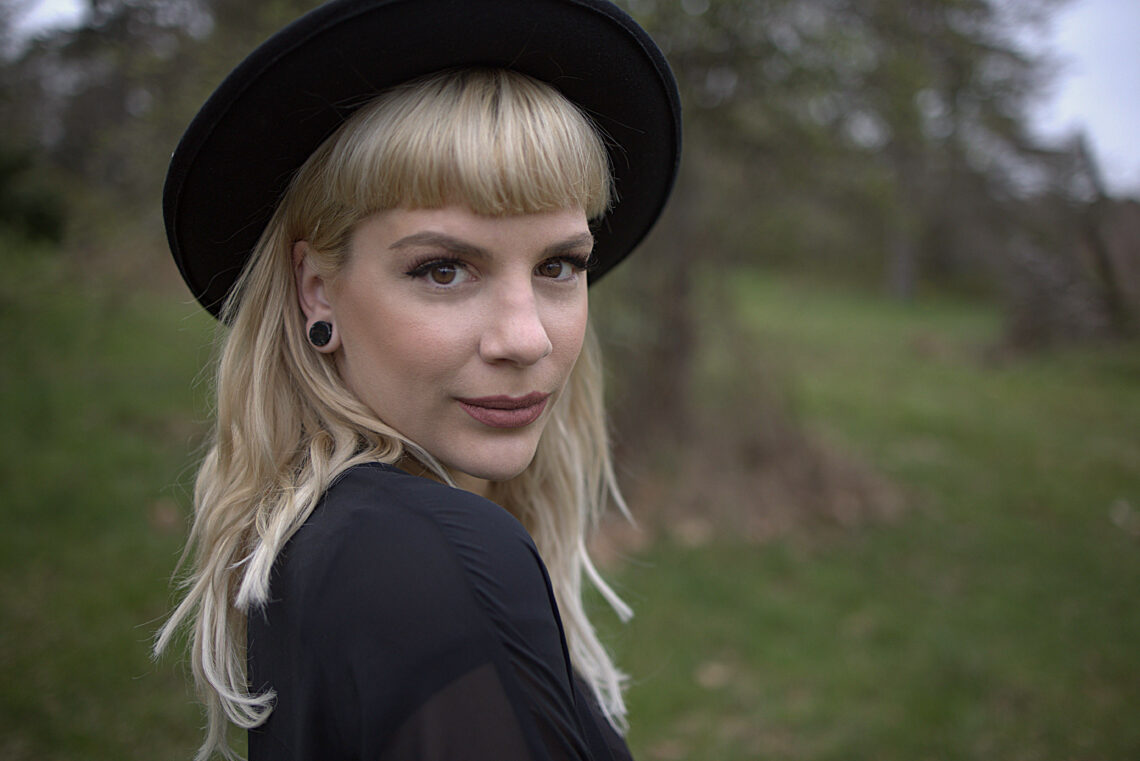
A friend of mine (actually, the same friend who snapped this photo of me) taught me about a photo editing process called “advanced frequency separation.” I’m so thankful to have friends who are experts at photography to help guide me along the way of my learning journey; it feels like a steep learning curve, but knowing what to learn, thanks to the help of my experienced friends, is a great start!
What is advanced frequency separation?
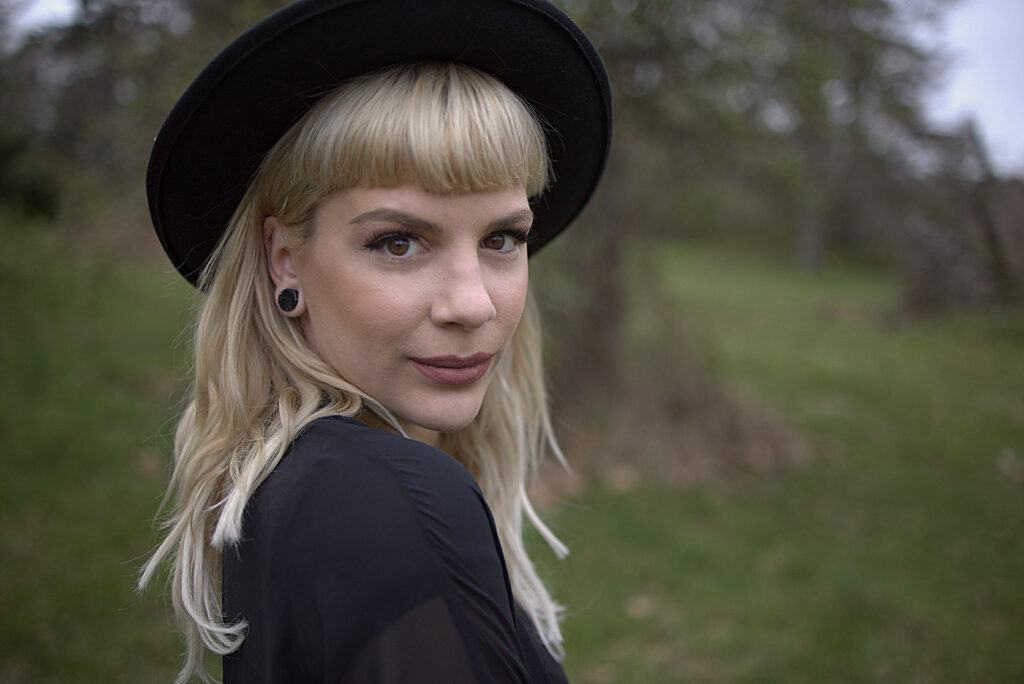
Basically, following this tutorial, also provided to me by my helpful friend, I was able to make my skin more even, and the image more sharp. Its an all-around image improver! This process involved creating two additional copies of the original layer – one was “low frequency,” in which I went over my skin with the “healing tool” in GIMP to get rid of any redness. The other layer was “high frequency,” which made the image look more sharp and enabled me to go in with a smaller healing tool brush to remove any additional small blemishes. Putting the layers all together made for a final result image which was sharper in certain areas, smoother in others, and had an all-around evenness added to the subject.
Here is the final result:
I also played around with the curves tool, adjusting the brightness and the levels of red, blue, and green in the photo.
For next time..
Given that this is my first attempt at a complicated process, I don’t think my execution was as mastered as I would like. I think that this is simply a matter of getting more practice with the healing tool in GIMP and the cloning tool as well. So, practice, practice, practice!


