Today I was in the mood to try something a little more creative/experimental on GIMP: double exposure. Double exposure is a technique in which two exposures are turned into one by layering them on to a single image. Using an old portrait that the very talented photographer Sheena Alece took of me, I combined the image with a space scene that I found on Unsplash, by Jeremy Thomas, by following this tutorial to get the end result:
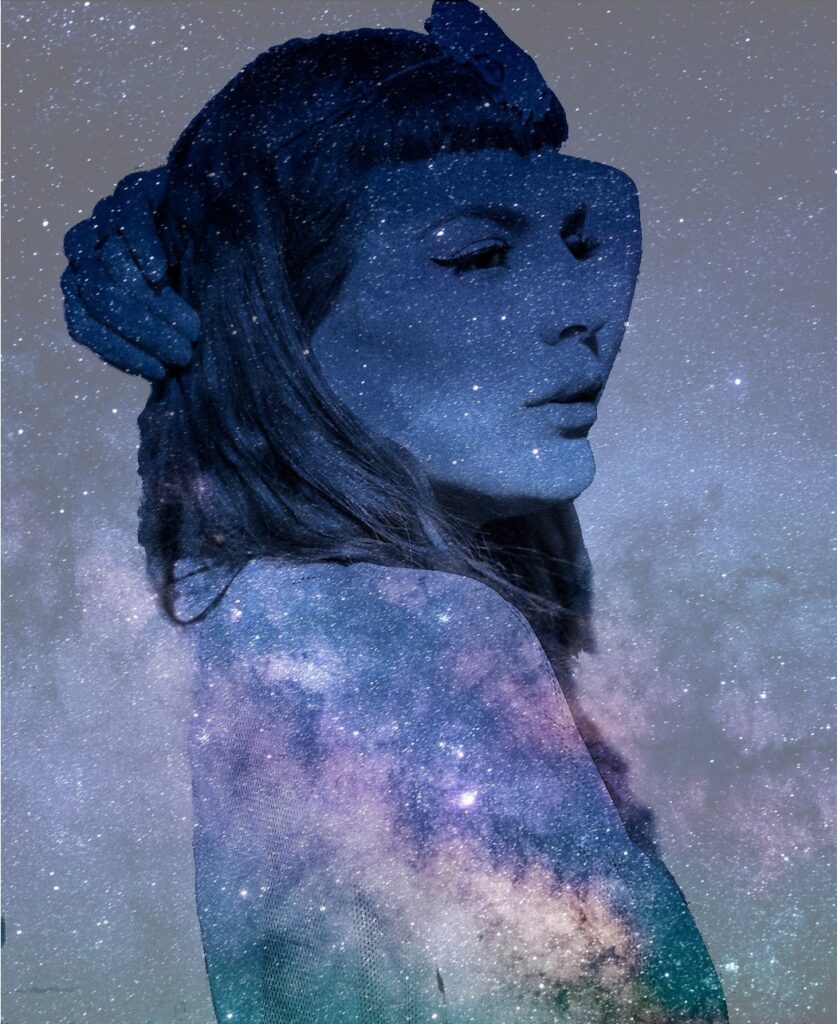
Its not my usual style for photos, but I think it is a great skill to get familiar with. It opens doors for exposure with many kinds of images; I’m already getting ideas involving trees, flowers, smoke, waterfalls, etc. And of course, it doesn’t have to involve nature imposed on a human subject – the options are endless.
Following this tutorial and practicing this technique was quite complicated, and I feel as though, in addition to learning this neat skill, it was also useful for practicing other functions on GIMP:
- I had to remove the background on the portrait image.
- I had to play around with adding, moving, and playing around with layers in a variety of ways.
- I needed to use the “flip” tool for the first time, which I could not find on my tool menu, so instead I used the “search and find a command” function to find the flip tool.
- I used the “curves” tool in a unique way which I have never used it before.
- I got to experiment with a lot of functions to get the saturation, brightness, etc, of each layer to my particular liking.
Ultimately, I found the process to be a bit of trial and error. The tutorial was fantastic, although if you are using different images than in the tutorial, your results may not be exactly as you would like if you follow the tutorial to a tee. Hence, I recommend following the tutorial, but experimenting with curves, opacities, etc to your liking! The handy thing about experimenting on GIMP is that you can always undo/redo things, and even preview functions before applying them!

